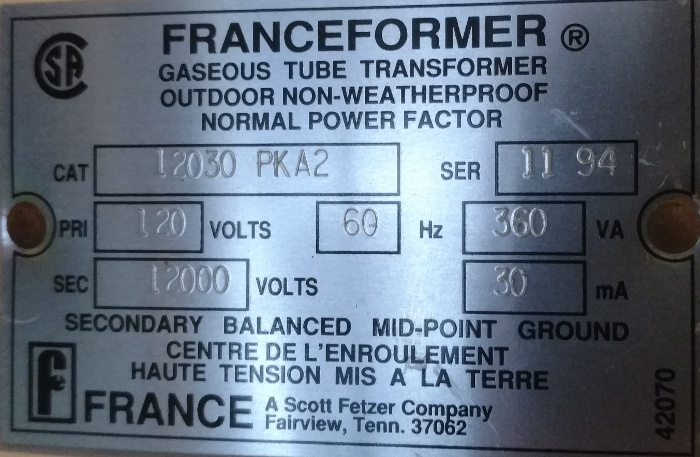
Charlie found an old neon-sign transformer, and it gave off a mains hum when plugged in, a promising start. This is probably going to power all manner of high-voltage mischief, but we're going to begin simple and easy and build a Jacob's Ladder.. You've probably seen these in movies like Frankenstein: two stiff wires like a rabbit-ears antenna, with an electrical arc repeatedly igniting, traveling upwards, and extinguishing. No mad scientists' lab is complete without one, so let's get started!
"Sometimes, ya gotta build a Faraday cage." - Bobby
The first thing to do is build a Faraday cage. This is a conductive mesh which surrounds a source of electromagnetic fields, preventing their transmission. (The Tenth Doctor once used a double-decker bus as a Faraday cage to safely travel through a wormhole.) This is important, because electrical arcs like these sometimes generate radio emissions which can interfere with local stations and wifi, as well as piss off the FCC. It also acts as a more mundane barrier, to keep people from physically brushing against the live wires or have a dangling metal necklace drift into the arc. We used chicken wire, wrapped around a frame built out of the skeleton of a former garden greenhouse:

A second important general safety point is that electrical arcs are energetic enough to oxidize atmospheric nitrogen, forming poisonous nitrogen oxides as well as ozone. (Lightning is one source of naturally occurring 'fixed' nitrogen.) This machine won't be continuously running long enough for this to be a major concern, but ventilation is still important.
Control Panel
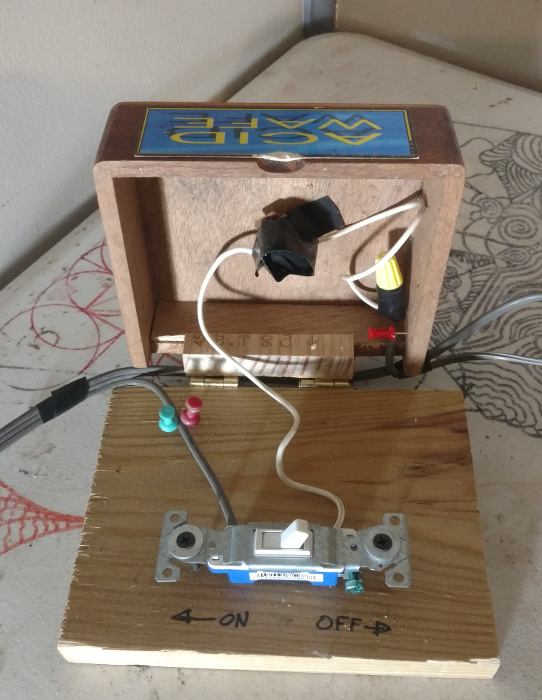
The next step is to wire up a control box in between the wall and the transformer. The light switch is a master shutoff, hidden under a cigar box. Built into the box is a momentary push-button switch, wired in series: when pressed, it will complete the circuit for as long as it is held down. This is also a safety consideration: this way, the machine can not be left unattended, and if the operator is injured, it will automatically shut off.
Spark Gap
Once the switchboard is wired to the transformer, we need a place to connect the high-voltage wires and to hold the spark gap itself. This was built from a 2x4, a couple of hex bolts, nuts, and washers; the rabbit ears were fashioned out of coat hangers. This is on the high-voltage side of the transformer, so it's important to use well-insulated wires and keep them well-separated. We used heavy-duty toaster wire but it would still form a coronal discharge if they got too close!
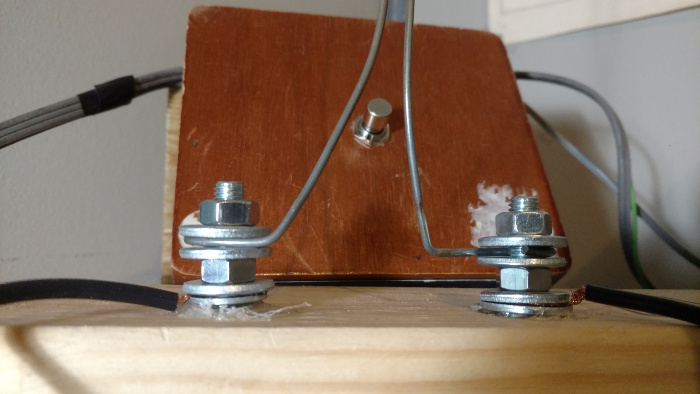
This has worked well enough, but it's not ideal, since the arc is hot and the wood is flammable. Electrical engineer and hobbyist Bill Beatty explains:
While it's possible to build these devices with wooden supports, you run the risk of starting a fire should the spark decide to jump through the wood instead of through the air. Also, the arc/flame tends to make the metal hot, even though the current is pretty low in the vertical rods. Ceramic insulators and fireproof glass/metal construction materials are best.But, with a fire extinguisher ready, let's put it all together and watch it go!
In Operation
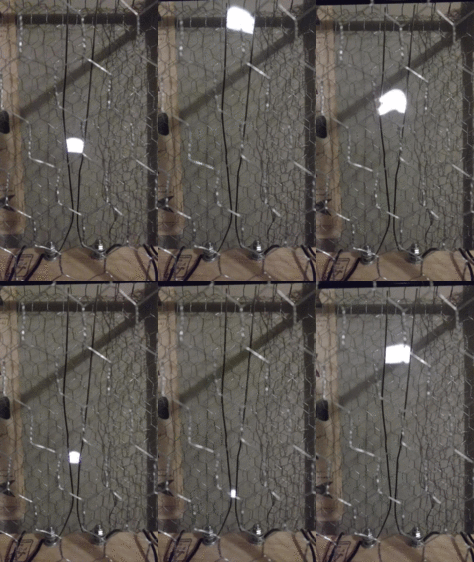
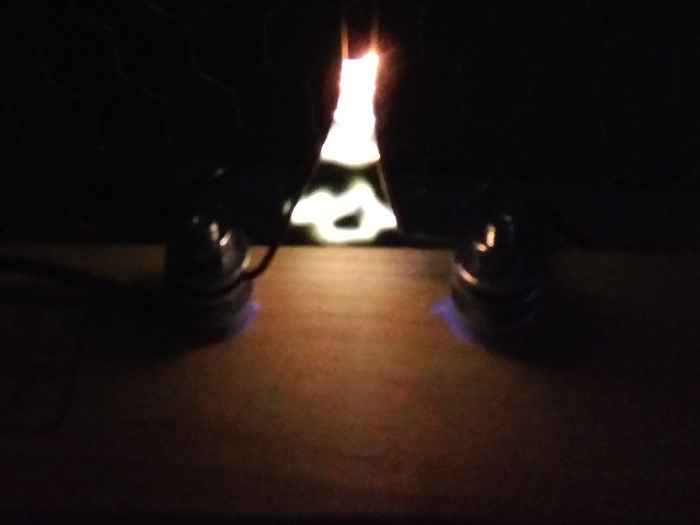
A final safety point is ultraviolet light, which the electrical arc can release. It's probably best not to stare at it for too long. But, it taught us something new: the hot glue used to hold the bolts in the 2x4 is fluorescent!
/etc/
Parts and supplies that we didn't find laying around came from Fitch Lumber.
More Reading
